The Complete Guide to Milky Way Photography: From Pre-Shoot Planning to Post-Processing
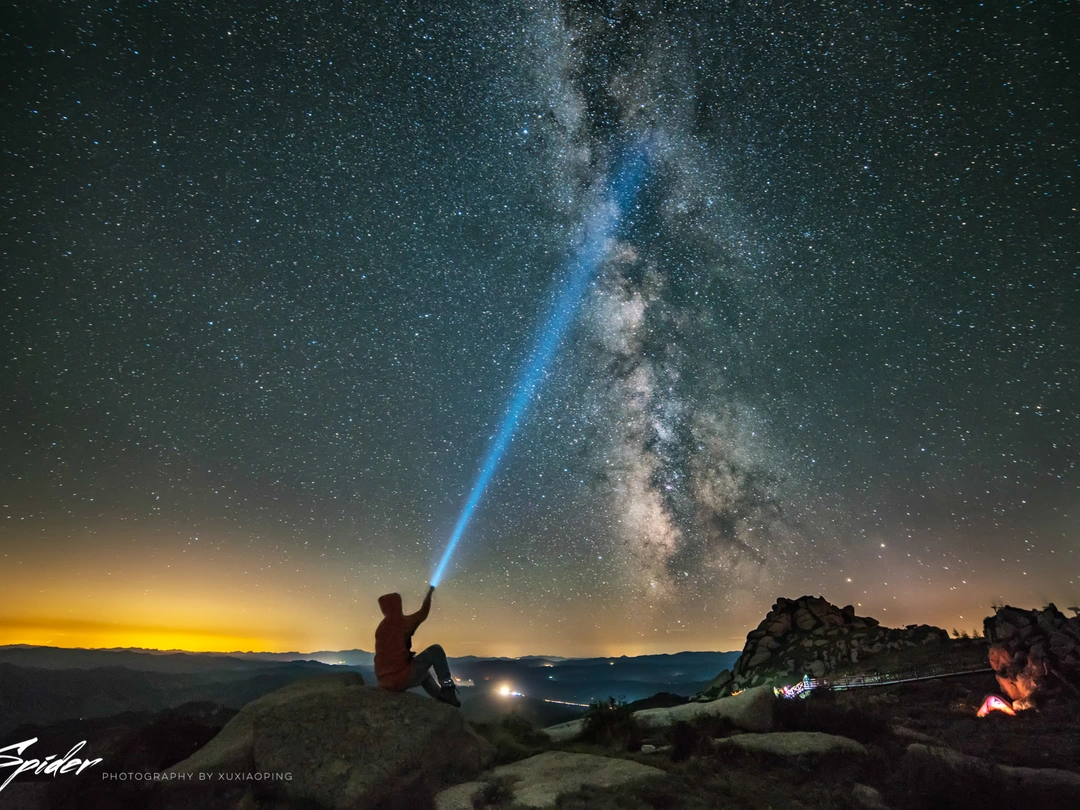
Meta Description: Master Milky Way photography with this step-by-step guide covering weather planning, moon phases, camera settings, panorama stitching, and post-processing. Capture stunning starry sky photos tonight.
Introduction
Remember that feeling of awe the first time you looked up at the night sky? The Milky Way stretching across the heavens like a luminous river, countless stars twinkling in the darkness. But when you pick up your camera, all you capture is a pitch-black frame or blurry specks of light.
Don't worry—this is a phase almost every astrophotography enthusiast goes through. Whether you're a beginner struggling with focus or an intermediate shooter wanting to perfect your Milky Way arch panoramas, this complete guide to Milky Way photography will take you from pre-shoot planning to post-processing, step by step.
Part One: Pre-Shoot Preparation—The Right Time, Place, and Conditions

1. Weather—Your Ticket to Star Photography
Clear skies are the first hurdle to capturing a sharp Milky Way. You need a clear, cloudless night with excellent atmospheric transparency. If there are clouds or haze, starlight gets blocked or scattered, and the Milky Way becomes invisible.
Best weather monitoring tools for astrophotography:
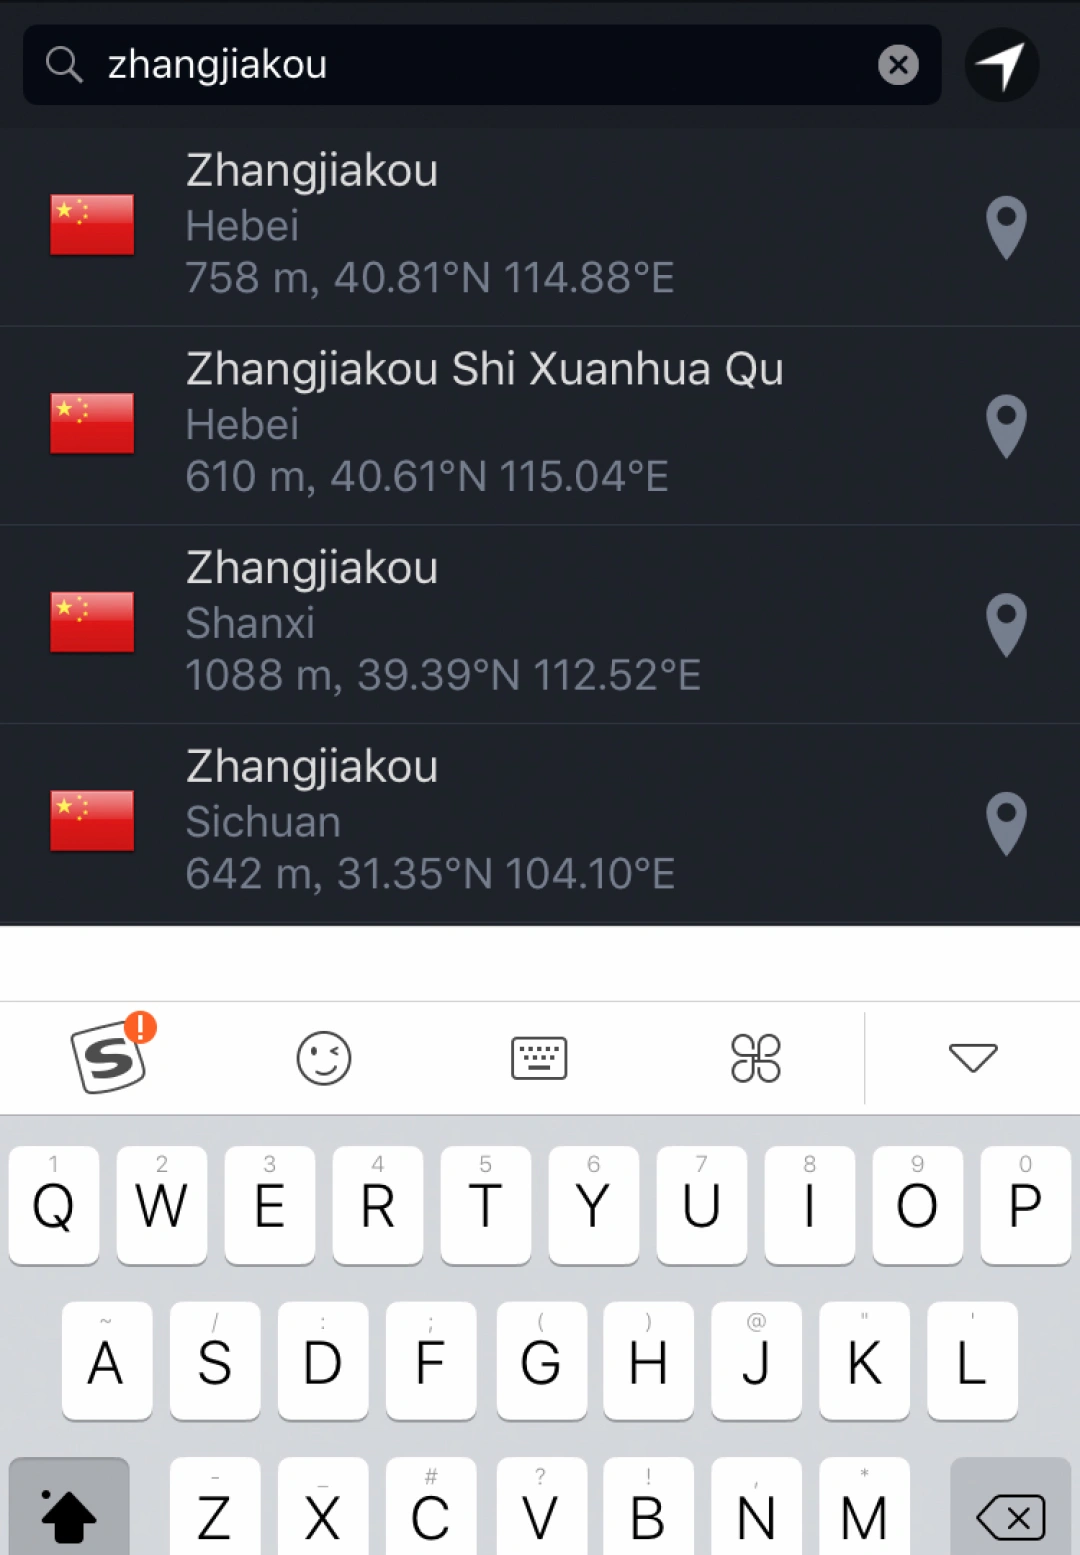
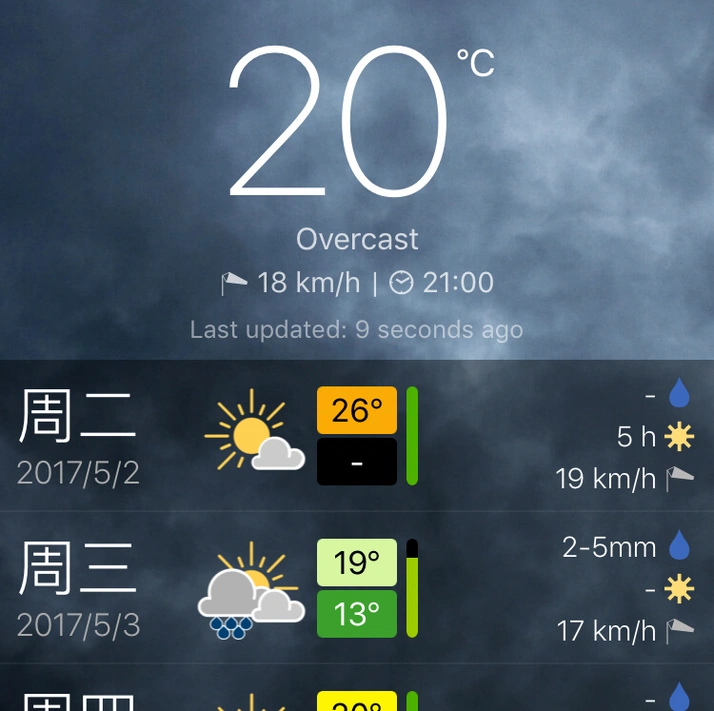
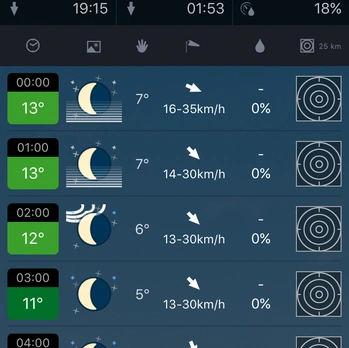
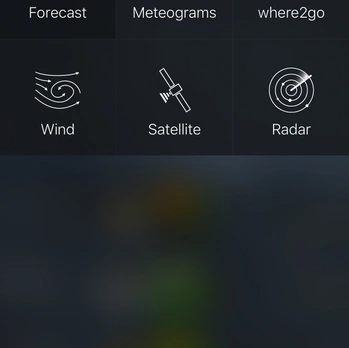
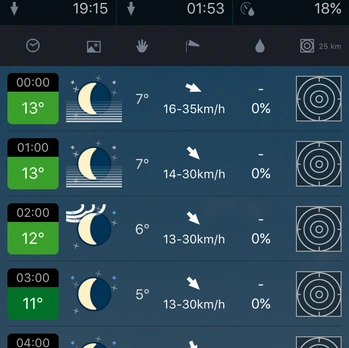
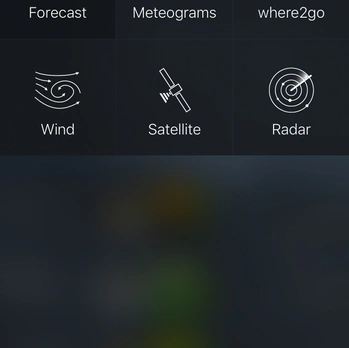
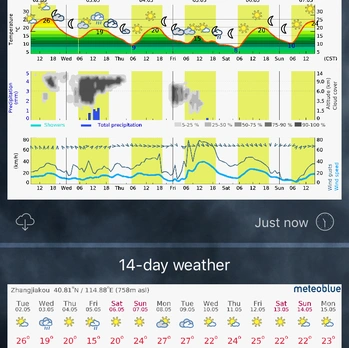
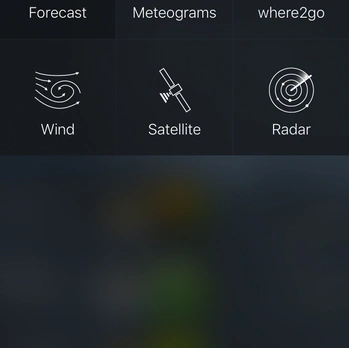
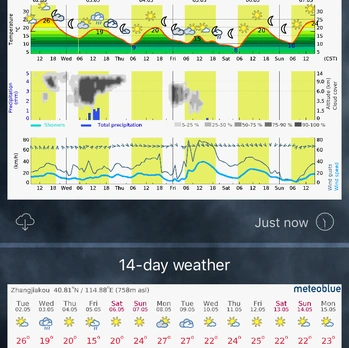
Meteoblue: Enter the pinyin of your destination to check conditions. It provides hourly forecasts for the next six days. Pay special attention to the "meteograms" and "wind" sections to check cloud cover and wind direction—areas with heavy clouds are essentially off-limits for Milky Way photography.
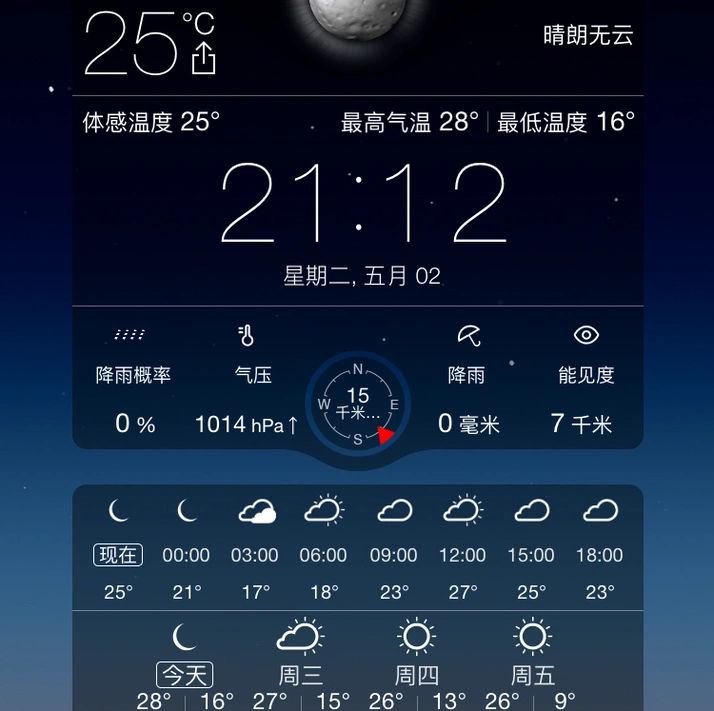
Real-Time Weather Apps: Enter your destination, tap the icon in the top-left corner to access the live weather interface, and overlay cloud maps in the bottom-right corner to visually assess cloud conditions during your shooting window.
Pro tip: Weather forecasts are always just references. Conditions can change rapidly, so check multiple sources before heading out to reduce the chance of a wasted trip. [Link: Best weather apps for landscape photography]
2. Moon Phase—The Decisive Factor for Milky Way Visibility
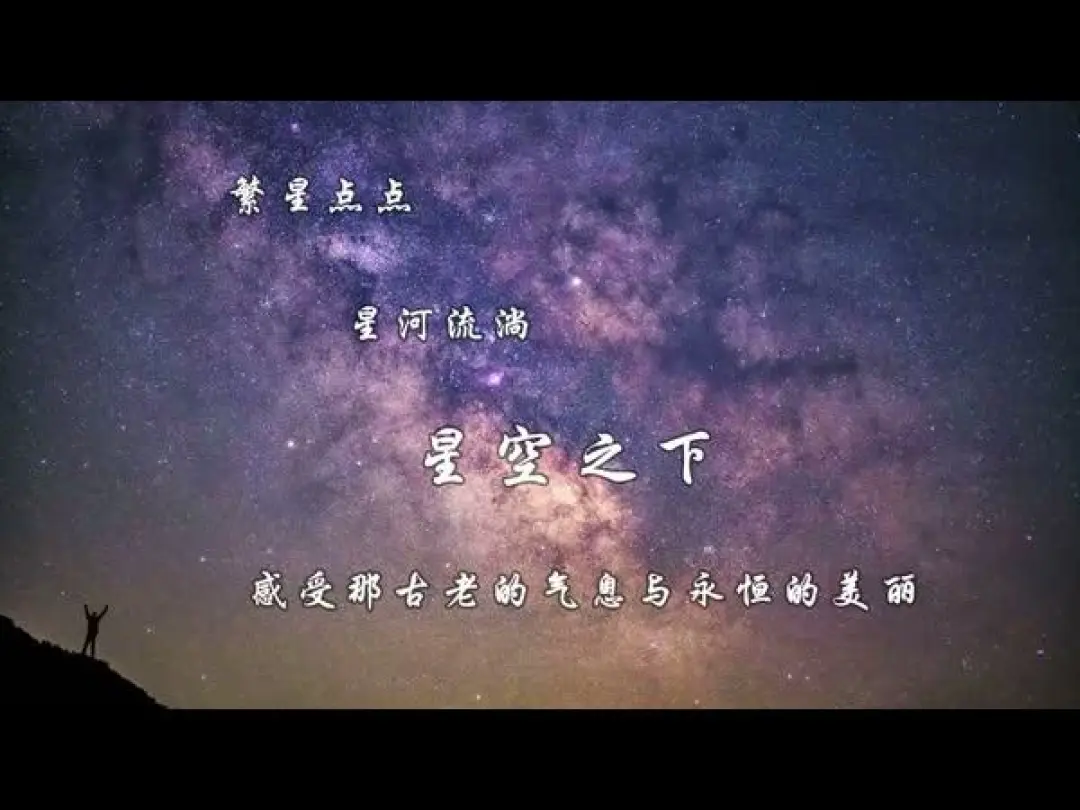
The moon is the natural enemy of the night sky. During a full moon, moonlight brightens the sky, making stars and the Milky Way appear faint and nearly impossible to photograph.
The best shooting windows are around the end or beginning of the lunar month, when the moon is a thin crescent with very low brightness. The golden hour for Milky Way photography is roughly one to two hours before moonrise or after moonset.
Quick rule of thumb: Avoid the three days before and after the 15th day of the lunar calendar. Use a moon phase app on your phone to plan ahead.
3. Location—Escape Light Pollution at All Costs
City neon signs, landscape lighting, car headlights—all this "light pollution" drowns out the stars. You need to find suburban or mountainous areas at least 50 kilometers away from urban centers.
Best locations for Milky Way photography near major cities: - Around Beijing: Lingshan, Wulingshan, Baihuashan, and the wild sections of the Great Wall - Use a light pollution map website (such as Light Pollution Map) to find dark zones - National parks and remote wilderness areas are ideal
[Link: How to find dark sky locations near you]
4. Milky Way Rise and Set Times—Don't Miss the Window
The Milky Way rises and sets every day, but the summer Milky Way (March to September) is brightest and most spectacular. Between March and June, you can capture the iconic "Milky Way arch" stretching across the sky—the classic composition in astrophotography.
Recommended apps for tracking the Milky Way: - Star Walk - Stellarium - Sky Guide - Star Walk 2
These simulate the night sky at your location at any given time, including the Milky Way's position, angle, and brightness. Usage is simple: open the app, set the time to the evening of your shoot, and you'll see which direction the Milky Way rises from and when it reaches its optimal position.
Seasonal tip: After July, the Milky Way rises earlier and earlier, often stretching north-south and standing nearly vertical to the horizon by evening. Shooting strategies vary significantly by season.
5. Stay Warm—Don't Let the Cold Ruin Your Shoot
Even in the heat of summer, temperatures at higher-elevation suburban areas can plummet to below 10°C (50°F) at night. I once shivered uncontrollably on Lingshan in August and had to pack up early.
Essential gear for cold-weather astrophotography: - Windbreaker - Down jacket - Hat and gloves - Hand warmers - Multiple spare camera batteries (keep them in a pocket close to your body for warmth)
Part Two: Shooting in the Field—From Single Shots to Panoramas
1. Essential Gear for Milky Way Photography
Astrophotography is low-light shooting, requiring specific equipment:
| Equipment | Recommended Specifications |
|---|---|
| Camera | Full-frame body with good high-ISO performance |
| Lens | Wide-angle, large aperture (F2.8 or wider, ideally 14-24mm) |
| Tripod | Sturdy, with hook for extra weight in wind |
| Shutter Release | Wired or wireless to avoid camera shake |
| Lighting Tools | Flashlight or headlamp for focusing and safety |
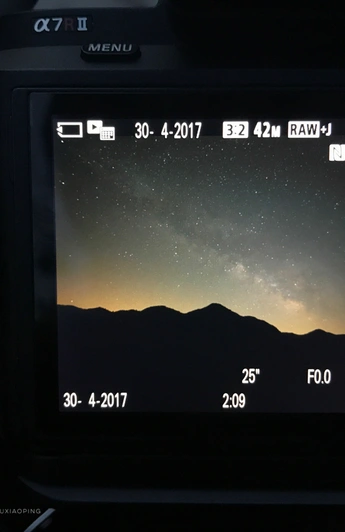
2. Camera Settings for Milky Way Photography (Using a Sony A7R2 as Example)
① Shooting Mode: Manual (M) mode
② File Format: RAW, for maximum post-processing flexibility
③ Aperture: Wide open (e.g., F2.8)
④ Shutter Speed: Use the 500 Rule—divide 500 by your lens's focal length (if using an APS-C sensor, convert to full-frame equivalent). For example, with a 14mm lens, 500 ÷ 14 ≈ 35 seconds. Exceed this, and stars will streak.
Modern update: With high-megapixel cameras, the 500 Rule is a bit outdated. For sharper star points, try the 400 Rule or even the 300 Rule.
⑤ ISO Sensitivity: Typically between 1600 and 6400. Higher ISO makes the Milky Way clearer but also introduces more noise. My personal experience: ISO 3200 is the most common sweet spot, with ISO 6400 as the upper limit.
⑥ Focusing: Enable the camera's live view, zoom in to maximum magnification, find a bright star, and slowly turn the focus ring until the star becomes the smallest, sharpest point. Take a test shot, zoom in to check sharpness, then start shooting for real.
About Foregrounds: Great astrophotography combines stars with a foreground. If the foreground is far from the camera (dozens of meters or more), focusing on the stars usually keeps the foreground sharp too. If the foreground is close, shoot separate frames for the stars and the foreground, then composite them in post-processing.
3. How to Capture the Milky Way Arch Panorama
The Milky Way arch is too wide for a single frame; you need multiple images stitched together. Here's how:
- Shoot vertically: This captures more of the Milky Way and foreground in each frame
- Lock the white balance (e.g., at 3500K) to avoid color mismatches during stitching
- Set the vertical angle: Ensure the highest point (the top of the arch) is within the frame
- Rotate horizontally: Start from the far left, rotate the camera to the right by a consistent amount after each shot, ensuring at least 1/3 overlap between consecutive frames
- Keep the horizon level: Do a dry run first to check if the horizon shifts, then make micro-adjustments during the actual shoot
[Link: Advanced panorama stitching techniques for landscape photography]
Part Three: Post-Processing—Making the Milky Way Go from "Faint" to "Brilliant"
Let's walk through the post-processing workflow using a 9-frame Milky Way arch panorama as an example.
Step 1: Panorama Stitching
- Import all RAW files into Photoshop and open Adobe Camera Raw (ACR)
- Select all photos and apply lens correction to remove distortion and vignetting
- Go to File > Automate > Photomerge, select "Auto" layout, and let Photoshop stitch the images
- Once stitched, flatten the layers and save as a single RAW or TIFF file
Step 2: Basic Adjustments in ACR
- White Balance: Set to around 3500-4000K for a natural night sky look
- Exposure: Increase slightly to bring out Milky Way details
- Contrast: Boost to separate stars from the sky background
- Highlights: Reduce to prevent star blowouts
- Shadows: Lift to reveal foreground details
- Clarity: Increase moderately to enhance star definition
- Dehaze: Apply gently to cut through atmospheric haze
Step 3: Selective Adjustments
- Use the Radial Filter or Graduated Filter to selectively brighten the Milky Way core
- Apply Luminance Masking to reduce noise in dark areas while keeping stars sharp
- Use the HSL Panel to enhance the blue and purple tones in the Milky Way
Step 4: Final Refinements
- Add subtle vignetting to draw the eye to the Milky Way
- Apply sharpening selectively to stars (avoid sharpening the sky background)
- Reduce chromatic aberration if present
- Export as high-resolution JPEG or TIFF for sharing
Frequently Asked Questions About Milky Way Photography
Q1: What is the best time of year for Milky Way photography?
The Milky Way is visible year-round, but the summer Milky Way (March to September) is brightest and most spectacular. The iconic "Milky Way arch" is best captured between March and June.
Q2: Can I photograph the Milky Way with a smartphone?
 Yes, but with limitations. Modern smartphones with manual mode and RAW support can capture the Milky Way, but the results won't match a dedicated camera. Use a tripod, set ISO to 3200, shutter speed to 15-30 seconds, and focus manually to infinity.
Q3: Why are my stars blurry in my Milky Way photos?
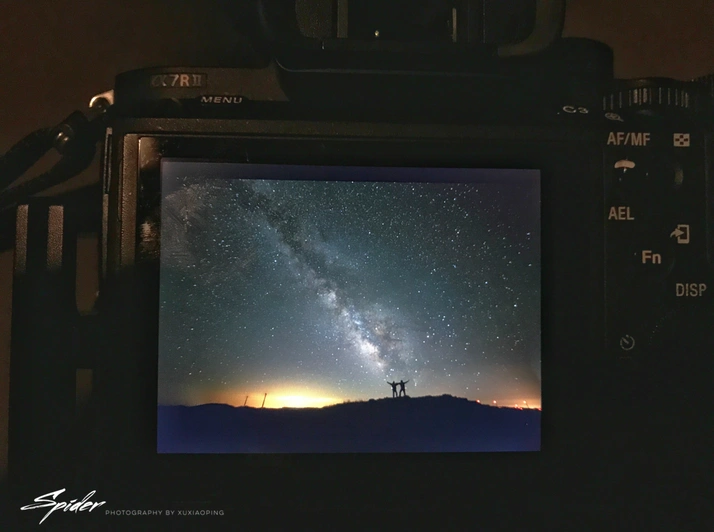 Blurry stars are usually caused by incorrect focus or camera shake. Ensure you're focusing manually on a bright star using live view zoom. Use a shutter release or self-timer to avoid vibration. Also, check your shutter speed doesn't exceed the 500 Rule for your lens.
Q4: How do I reduce noise in my astrophotography?
Noise is common in high-ISO shots. To minimize it: use the lowest ISO that still captures the Milky Way (typically 1600-3200), shoot in RAW for better noise reduction in post-processing, and use noise reduction tools in Lightroom or Photoshop. Stacking multiple exposures also reduces noise significantly.
Q5: Do I need a star tracker for Milky Way photography?
A star tracker is not essential for beginners but becomes valuable as you progress. It rotates your camera to follow the stars, allowing longer exposures without star trails. This lets you use lower ISO and smaller apertures for cleaner images. Start without one, then consider a tracker once you've mastered the basics.
Ready to Capture Your Own Milky Way Masterpiece?
Now you have everything you need—from weather planning and gear selection to camera settings and post-processing techniques. The only thing left is to get out there under a dark sky.
Your action plan: 1. Check the moon phase and weather for this weekend 2. Find a dark location using a light pollution map 3. Pack your gear, including warm clothing and spare batteries 4. Practice focusing and shooting a single frame before attempting panoramas 5. Process your images using the steps above
The Milky Way is waiting. Don't let another clear night go to waste. Grab your camera, head to a dark sky location, and start creating stunning starry sky photographs tonight.
Share your results in the comments below, and subscribe to our newsletter for more astrophotography tutorials and gear recommendations.
[Link: Essential photography gear for beginners] [Link: Best editing software for landscape photographers]
You should also read:
Strolling Through Fragrant Beijing: The Imperial City of Crimson Walls and Azure Tiles – A Complete Travel Guide
Meta Description: Explore Beijing's Forbidden City, Temple of Heaven & hidden hutongs in this SEO-optimized travel guide. Walk 60km through crimson walls & azure tiles with insider photography tips. Plan your imperial city adventure today. "My Beijing City" plays on repeat as I write this—the…
Continue reading...
Beijing Travel Guide: A Personal Journey Through Smog, History, and Hidden Stories
Meta Description: Discover Beijing beyond the tourist traps. This personal travel story explores hutong culture, historical sites, and local secrets—from Jingshan Park to Yuanmingyuan. Perfect for travelers seeking authentic experiences. Beijing. The name alone conjures images of smog-shrouded skylines, the majestic Forbidden City, labyrinthine hutong…
Continue reading...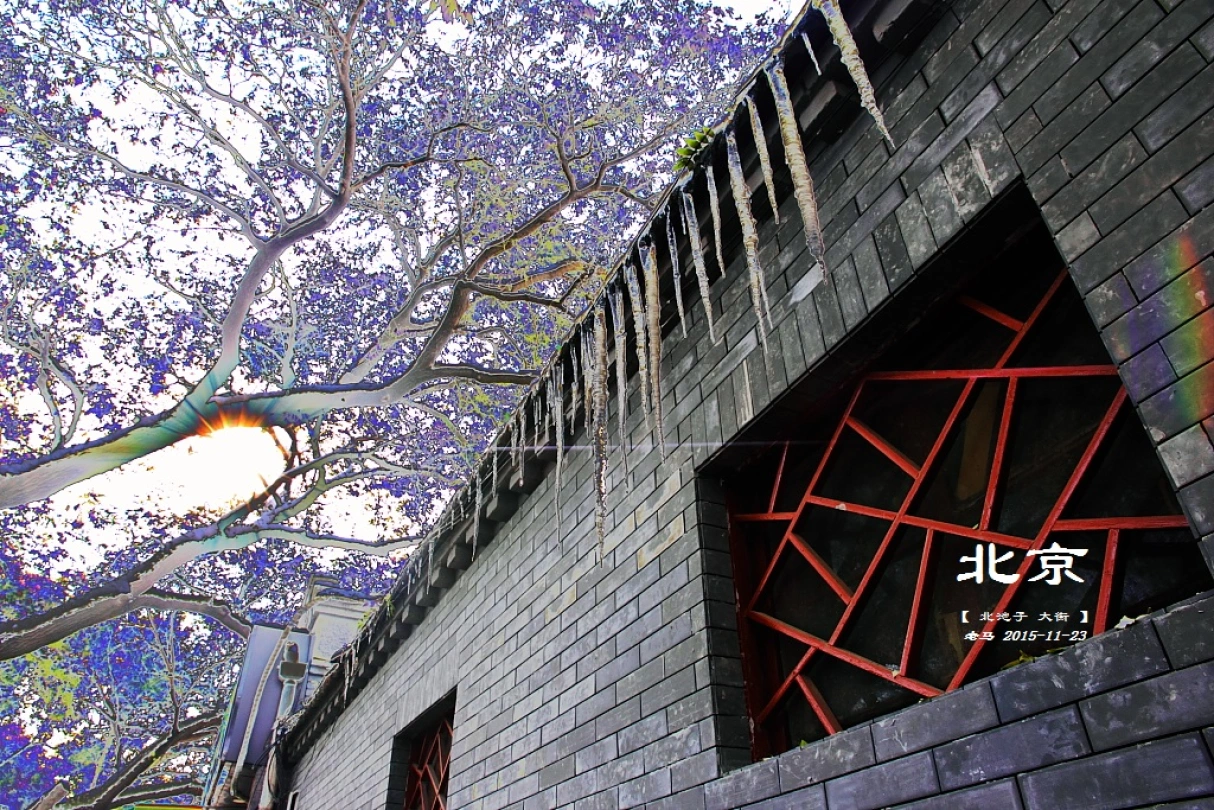
Beijing: From Deep Autumn to Early Winter – Discover Hidden Seasonal Beauty in China's Capital
Meta Description: Explore Beijing's transition from autumn to winter through personal stories and hidden gems. Discover Western Hills sunrises, Forbidden City snow scenes, and authentic hutong experiences in this SEO-optimized travel guide. Beijing isn't just a city of history and politics—it's a living, breathing entity…
Continue reading...